If you’ve always been fascinated by how well some YouTube videos or commercials turn out that you wish to make some of your own, why not try Windows Movie Maker to warm up your video-making skills? Lots of YouTube gurus seem be doing so. Authoring your own videos can be fun and time-consuming at the same time, so if you want to protect your work, make it more distinguishable and even professional, you should consider adding your signature.
I certainly wish I did back when I fansubbed a music piece with some (as I was told later) metaphorically incorrect translations and later laughed when I saw the exact same, incorrect lyrics I had spent hours researching for in another similar video. As you can tell, there’s no real harm in spending a few more minutes protecting your work. It may even get you more motivated when you see your own logo in your videos that you’ll continue making videos!
So before we start with the tutorial, note that the first part of the tutorial focuses on adding simple text-based watermarks, and for the second part, we’ll add an image watermark or logo into our video using the code from some brilliant users at the Movie Maker Forums.
Adding A Text Watermark
If you want a simple text watermark, not a logo, of your username or name in the lower portion of your video, you can get started right away with one of the built-in Titles.
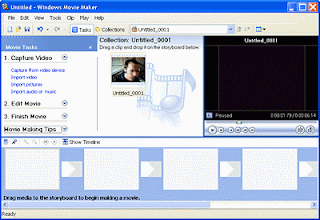
First, start up Windows Movie Maker. Press Ctrl + I (or click on Videos under Import in the left sidebar) to import your video from your computer.
Drag your video to the timeline. Click on Title and credits under Edit in the left sidebar and then, click on Title on the selected clip.


